Shop Management
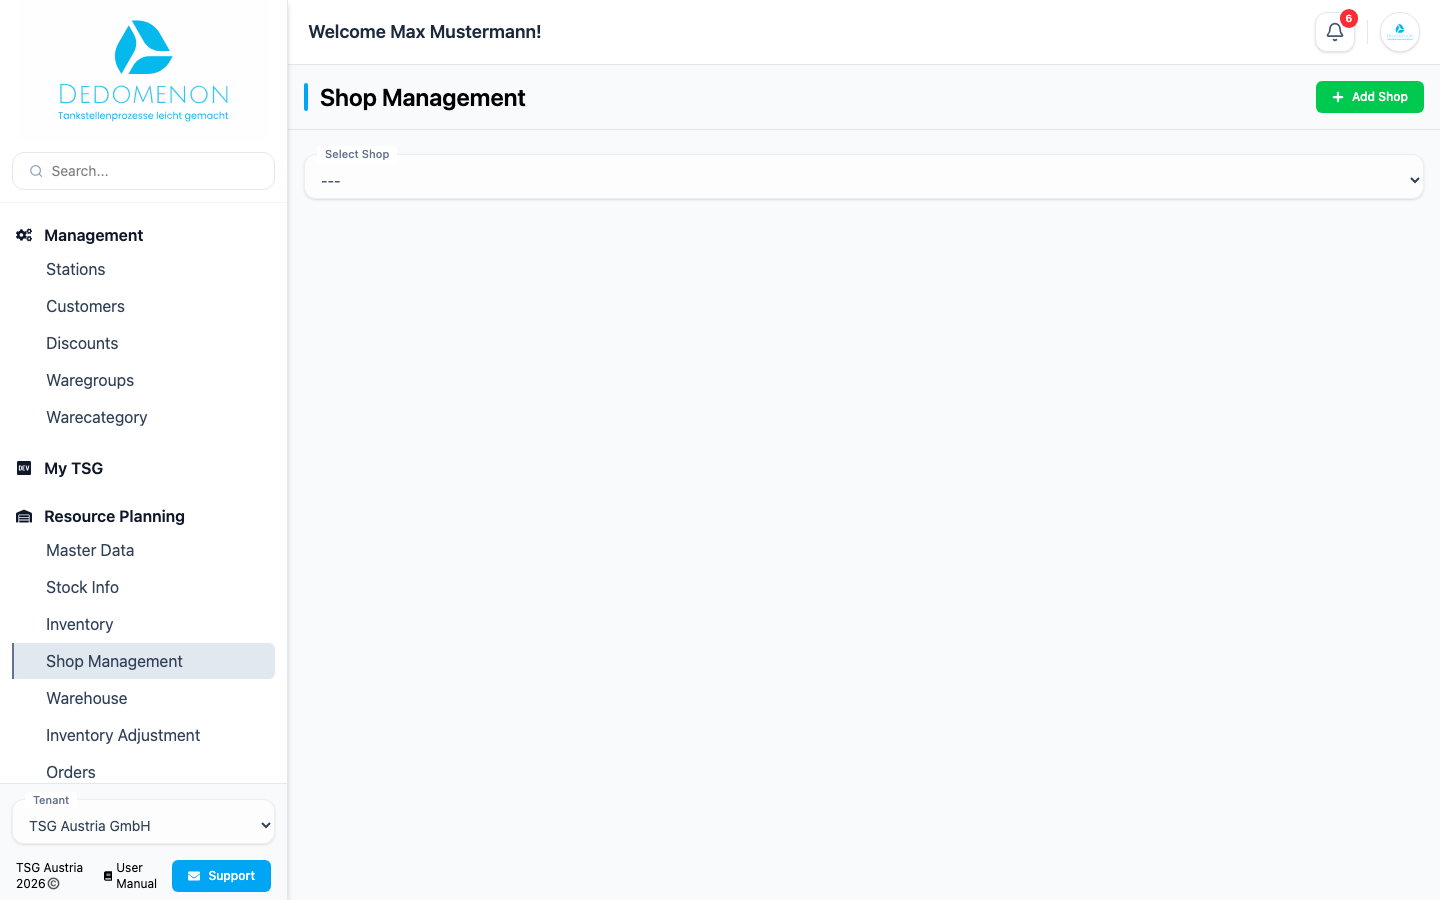
On the Shop Management page (sidebar: Resource Planning → Shop Management) you maintain one shop per station: the list of articles sold at the station's POS system and the article buttons of the POS screen. Afterwards you send your changes to the station.
The Shop Management menu item only appears in the sidebar if merchandise management is enabled for your tenant. You also need the Shop Management permission (see User management). The same applies to Warehouse, Inventory Adjustment and Orders.
Creating a shop
- Click Add Shop at the top right.
- In the Create Shop dialog, enter the Name and choose the Station.
- Click Save.
| Field | Meaning |
|---|---|
| Name | Name of the shop (required) |
| Station | Station the shop belongs to (required). Only stations that do not have a shop yet can be chosen. |
Selecting a shop
Choose the shop in the Select Shop list. Only then do the buttons and the article list of the shop appear. Above the list you see when the shop was last changed (Last updated).
Adding articles to the shop
- Click Add article.
- In the Add Article dialog, choose one or more articles in the Article field (shown as PLU and name). Add all items selects all offered articles, Remove all articles clears the selection.
- Click Save.
Only active articles that are not fuels and are not yet in the shop can be chosen. Name, selling price, PLU, VAT code and purchase price are taken from the master data. Without a selection the message "Please select at least one article" appears.
The shop's article list
The table shows PLU, Name and Selling Price of the shop articles. Click a column heading to sort. The Actions column contains:
- Pencil icon: Opens the edit dialog. You can only change the Selling Price (decimal comma or point); name and PLU are locked. Save applies the change, Cancel aborts.
- Trash icon: Removes the article from the shop.
The article is removed from the shop immediately and without a confirmation prompt. The article itself remains in the master data.
The selling price in the shop is a copy. A later price change in the master data does not change the shop article automatically.
Sending the shop to the station
Changes to the shop only take effect at the POS system once you send them.
- Click Sync Shop.
- The Transferring changes to stations window shows the progress for each station (“Sending to station…”, then success or failure).
- Once all stations have answered, Close becomes active. Click it.
If the request fails, the message “Sync failed!” appears. You can also find the transfers on the Activities page.
Managing article buttons
Manage Article Buttons opens the Manage Article Buttons dialog, where you define the button layout of the POS system. You work on two levels with at most 32 slots each:
- Groups (shop level): Enter a name under New group and click Create group. Clicking a group selects it; you can then rename it under Name. Open content (or a double click) opens the group.
- Articles (inside a group): Choose a shop article under Select article and click Add article. An article can only appear once per group.
Arrange groups and articles by dragging them to another slot. The trash icon in the edit area removes the selected group or article. The arrow next to the group name takes you back to the group overview. Save applies the layout, Close discards unsaved changes.
Save stores the layout only in Dedomenon. The button layout (and the shop articles) reaches the station only with Sync Shop. The synchronisation runs in the background; you can follow its progress under Activities. It is aborted if a shop article has no POS Card Codes entry (see Master data).
Resetting a shop
Reset shop deletes all existing shop articles on the station's POS system. A prompt appears first: “This will delete all existing shop items from your POS system; this action CANNOT be undone. Are you absolutely sure you want to perform this action?”. After you confirm, the progress is shown in the Transferring changes to stations window.
Deleting a shop
Delete shop removes the shop. A prompt appears first: “Are you sure you want to delete this record? The change cannot be undone.”. Confirm it to delete the shop.
Check the selling prices and the button layout before you send. Last updated shows when the shop was last changed.